
If we all Upcycle then we will be an UpcycleArmy! If you have a Dog or Cat this post is for you. Make a large tote from a tough plastic Pet Food Bag.
- Large (25 lb) empty and wiped off pet food bag.
- Material for a strap - I used 2.5 yards of 1" wide cotton webbing that was hand woven on an Inkle loom. You could also buy 2.5yards (or meters) of cotton webbing at your fabric store. you could also make the strap out of cool fabric.
- Thread and machine sewing machine.
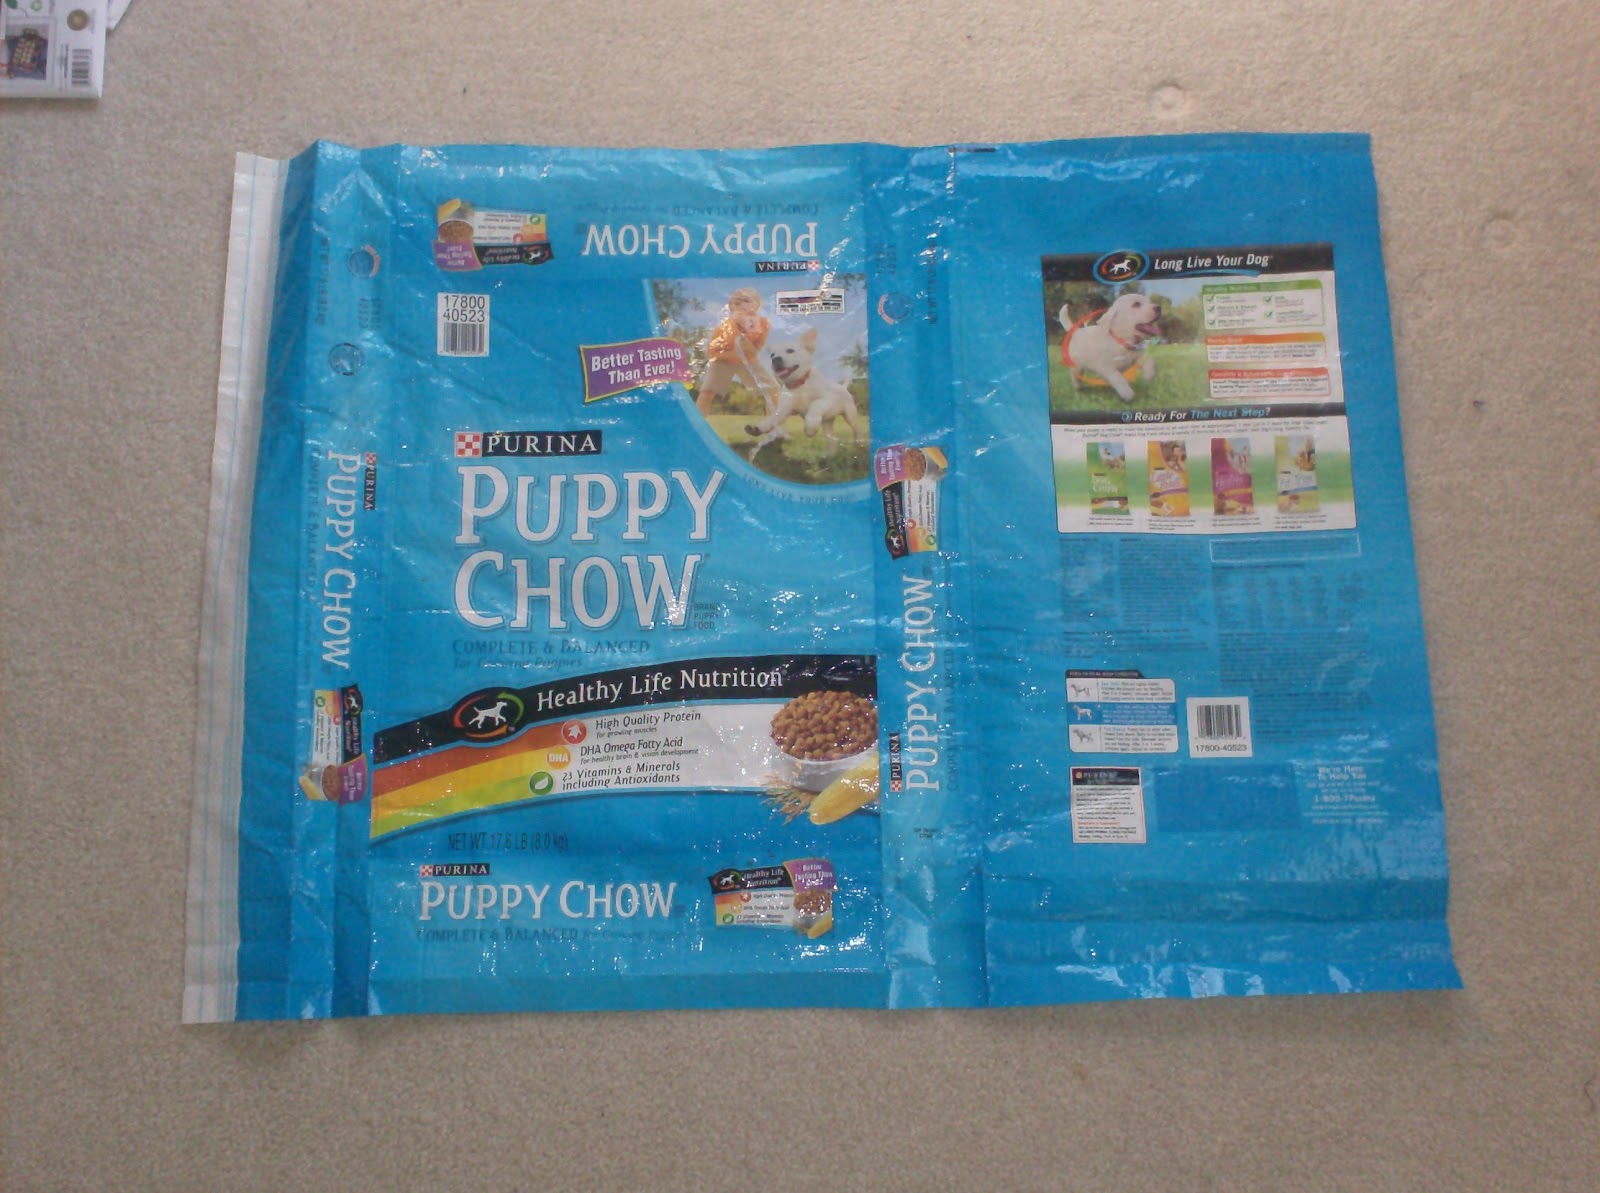
- Most plastic Pet Food bags are folded over on the bottom and sealed with clear plastic tape. Remove the tape and unfold the bottom of the bag. Remove any Pet Food crumbs - your pet may be assisting you at this point - my cats Devin and Derek, and dog Emma were very helpful with this step.
- You now have a big tube. Look for the seam where the plastic sheet was joined. Slip a finger into this seam (like you are opening an envelope) and slide your finger down, or once you have started separating the seam gently pull the two pieces apart. Try to keep the sheet intact on each edge of the seam.
- Wipe off the inside of the sheeting. Lay flat.
Construction:
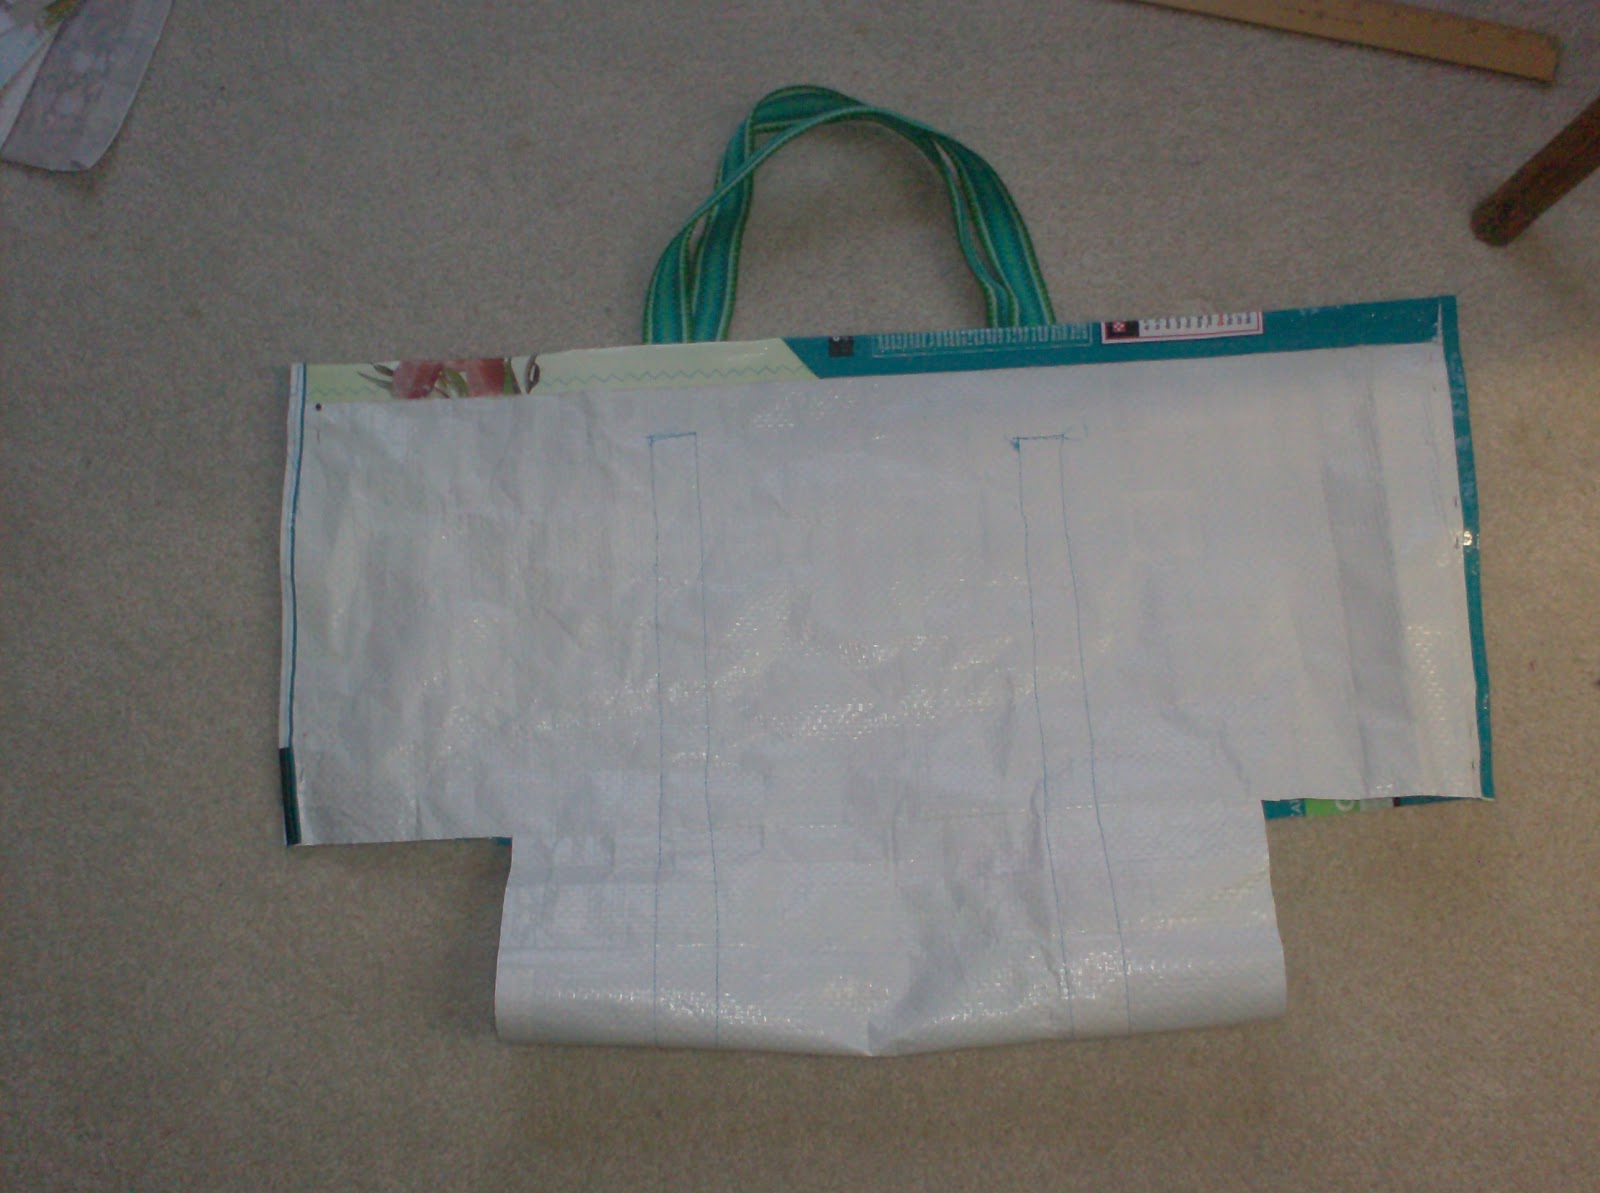
Fold the bag in half along (or near) one of the side folds so that the raw edges are lined up with each other. At the center fold cut out two squares.

 |
| Hem the raw edges at the top and sides of the bag. This will give you a nice and reinforced edge and side seams. I turned over about 1" at the top edges of the bag and about 1/4" along the sides. |
 |
| Make the handle for the bag and attatch it. Lay out the 1" cotton webbing in a continuous loop. Lay it out symmetrically over the body of the bag. Check that the handles are even and that they are the size that you want. Adjust the continuous loop of webbing to the right length and join it (make sure it is not twisted!). Pin the loop of webbing to the bag spacing the webbing evenly from each side edge of the bag. (Note that in the photo below I needed to add some length to my cotton webbing. I added pieces in the middle to make the handles long enough. These pieces will end up on the bottom of the bag so I didn't worry that they do not match the rest of the handles.) |
 |
| Once the handles are pinned check the handle length. To make sure that the handles are aligned, fold the bag in half again and check the alignment. Sewing the handles in place. Open the bag flat again. Starting about 2" from the top edge of the bag, sew down one edge of the handle to within 2" from the other top edge of the bag. Sew across the 1" width of the strap and down the other long edge of the strap. Sew across the 1" width of the strap (you have sewn a long rectangle of stitches and are back to where you started sewing). Repeat these steps for the second bag strap. |
| With right sides together, sew along the side seams. Do not sew along the edges that you created when you cut out squares. Now for the tricky part. In the photo below you are looking at the bottom of the bag in the foreground and down the length of one side seam (center of the photo). In this view, the raw edges of one 'square' that you cut out are matched together. the side seam of the bag is matched to the center bottom of the bag. Pin the sides of the cut out 'square' together and sew a 5/8"seam. Repeat this for the other side of the bag.  If you have questions about this see this helpful link http://www.allcrafts.net/fjs.htm?url=creativelittledaisy.typepad.com/creative_little_daisy/2006/01/basic_purse_tut.html |
 |
| Here is the finished and very durable bag. Congratulations. |
F


